
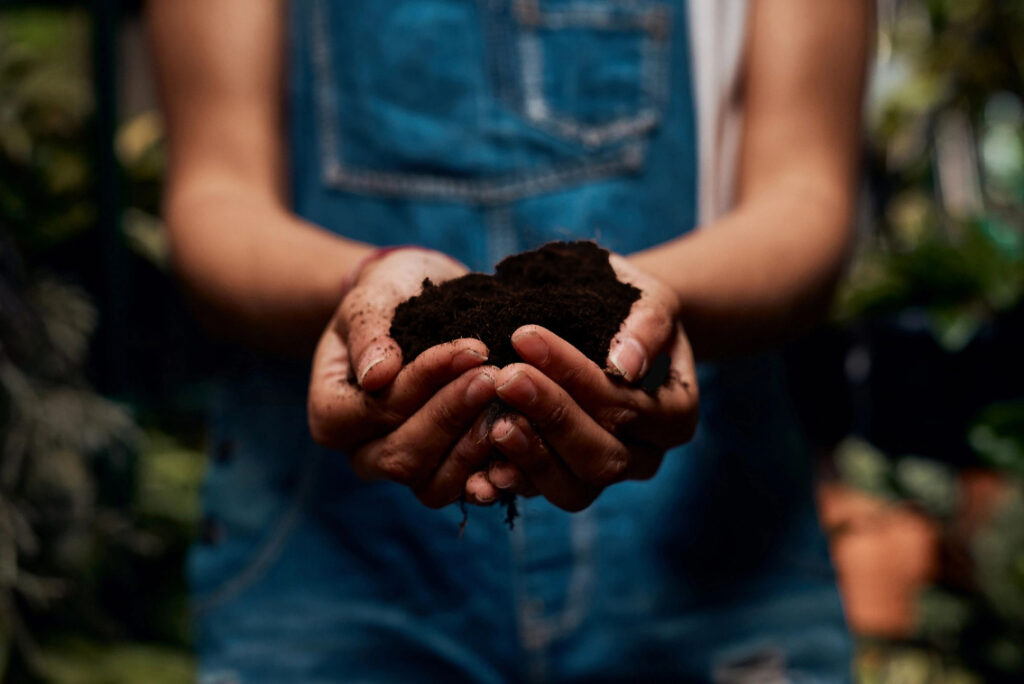
Soil biology • long-term fertility
Making your own Biochar
Learn to make Biochar easily, quickly, AND FOR FREE with materials you already have around your home!
Biochar basics
Making Free Biochar!
Making charcoal, and ultimately turning it into biochar, is a simple idea— burn a carbon-containing, once-living thing (like a piece of wood) in the absence of oxygen… and you’ll have charcoal!
So, how do you BURN something without turning it to ash, or consuming it?
The answer is pyrolysis (pie ROL’ uh sis) NOT paralysis (pə RAL’ i sis) as some people mispronounce it.
Pyrolysis is low-oxygen thermal burning. During the burn, this process converts everything, except the minerals and carbon, into a gas.
These gases are burned cleanly, resulting in virtually no pollution. The carbon and the minerals left behind are NOT CONSUMED, and no CO2 is created or released.
CO2 is formed only when oxygen is present during burning.
In a normal combustion process, the carbon is NOT left behind but combines with oxygen to form CO2, and the only thing remaining is ash, which is about 100% minerals.
But this “left behind” carbon created during pyrolysis is recalcitrant, meaning it can’t decompose further. Its persistence after being added to your soil contributes to:
- Soil Health: enhancing soil structure and fertility, supporting plant growth and ecosystem stability.
- Increased CEC: Increasing your CEC means your soil can hold more nutrients without leaching them away!
- Long-term Carbon Storage: keeps the carbon in the soil, reducing atmospheric CO2 levels.
So how do You Exclude Oxygen?—
There are two principal ways for excluding oxygen to make charcoal on a practical level:
- In a cone-shaped open pit outside.
- In small retorts constructed of steel #10 and smaller food cans.
- You can also make an elaborate kiln using steel barrels, but for most people, it’s impractical.
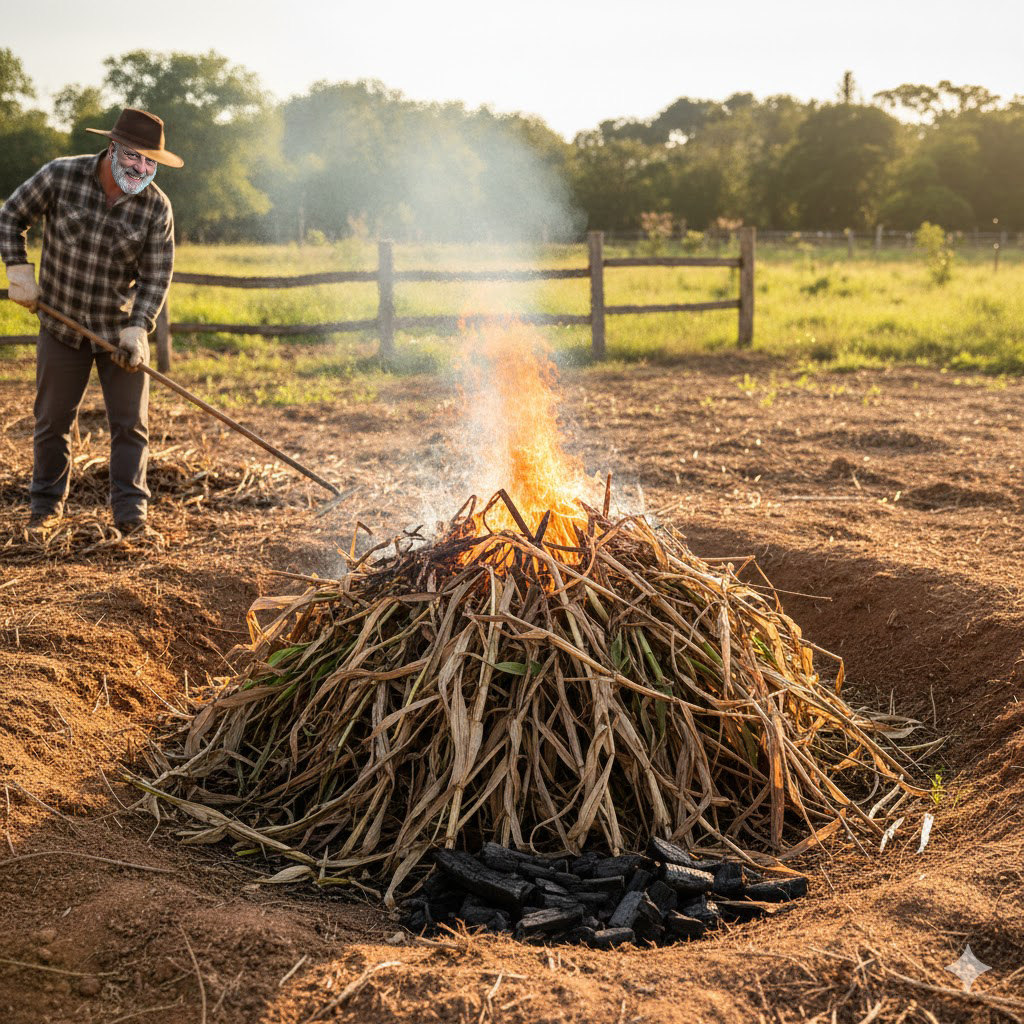
1)Make biochar in a cone-shaped pit
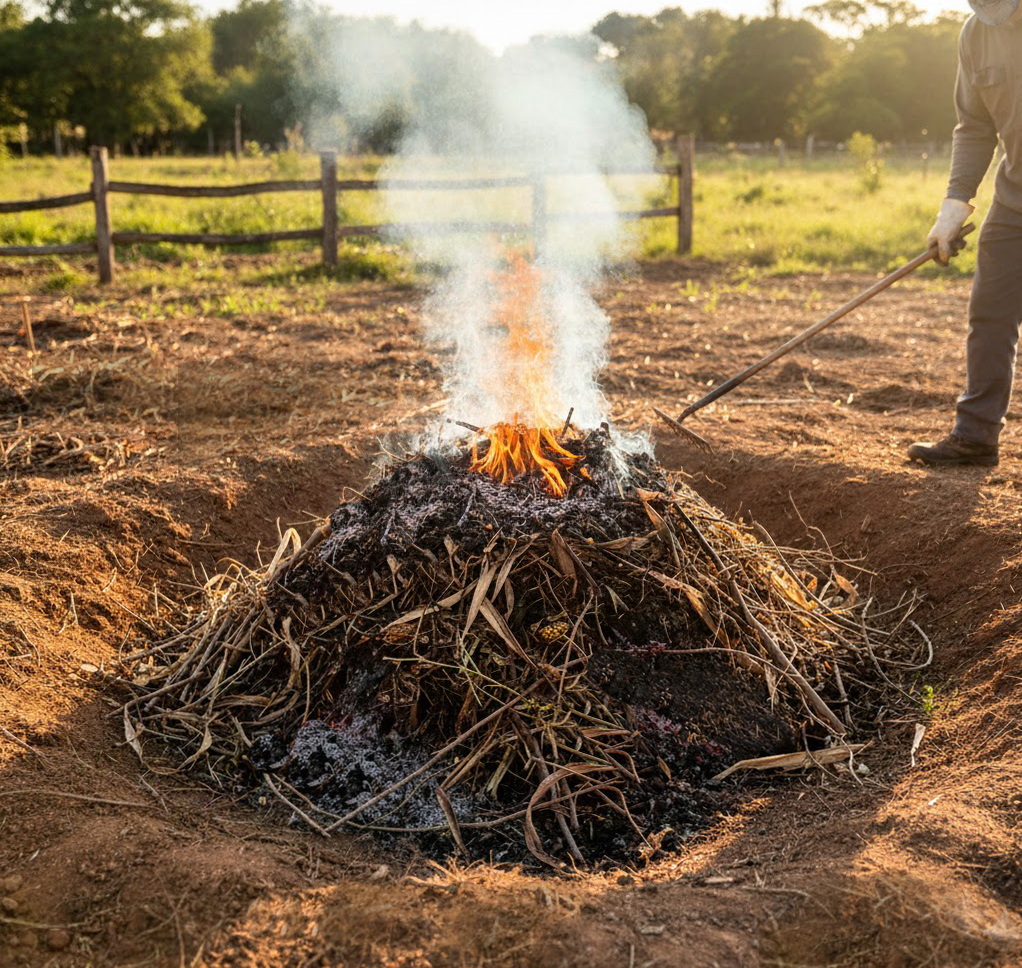
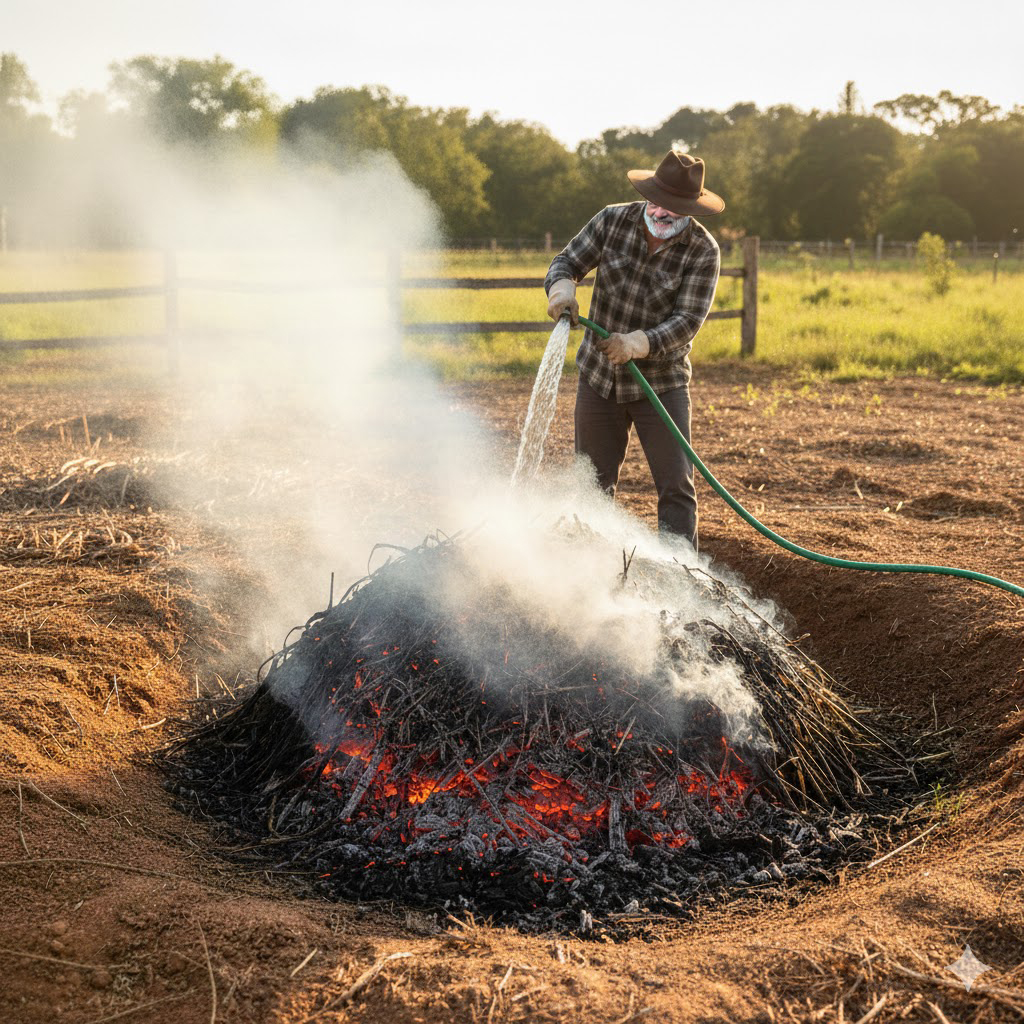
Only do this on a windless day and make sure your town doesn’t have an ordinance against open burning.
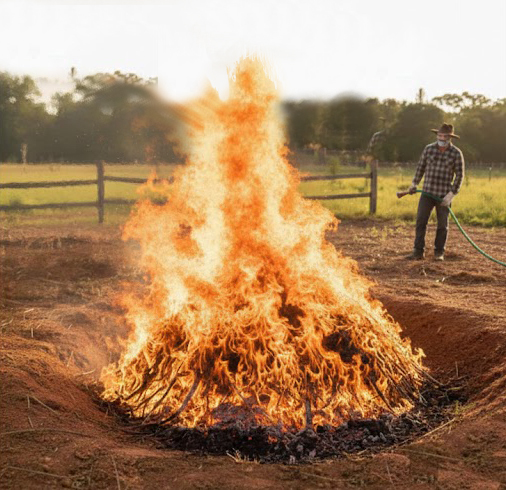
Have a hose ready, as you’ll be extinguishing the fire before it burns completely… and turns to ash!
Dig a cone-shaped pit measuring about 4 feet in diameter and 3 feet deep. Clear the surrounding area of anything that can burn!
Important— remove everything combustible, like grass, FAR AWAY from where you’ll be burning!
Fill it with dry branches and other large woody materials like old two-by-fours or pieces of lumber… but not anything pressure-treated, painted, or treated with chemicals.
Start the fire on top with paper or brush and let it burn its way down. Once you have a good fire, continue adding larger pieces on top.
When adding material to the fire, place the new material into the larger openings. This prevents air from getting to the center of the pile, keeping it from turning into a pile of ash.
The real trick (skill) is getting as much wood as possible turned into cherry red coals before it turns to ash!
Once your pit is full and the majority of the wood is turned to cherry red coals, extinguish it with a hose. Keep hosing it down until NO steam is rising from the pile, then cover it with dirt. This cuts off all oxygen so it can’t reignite. Let it sit overnight. The next day, uncover the pile and remove any partly burned pieces. What remains is charcoal (with a little dirt mixed in, which is fine).
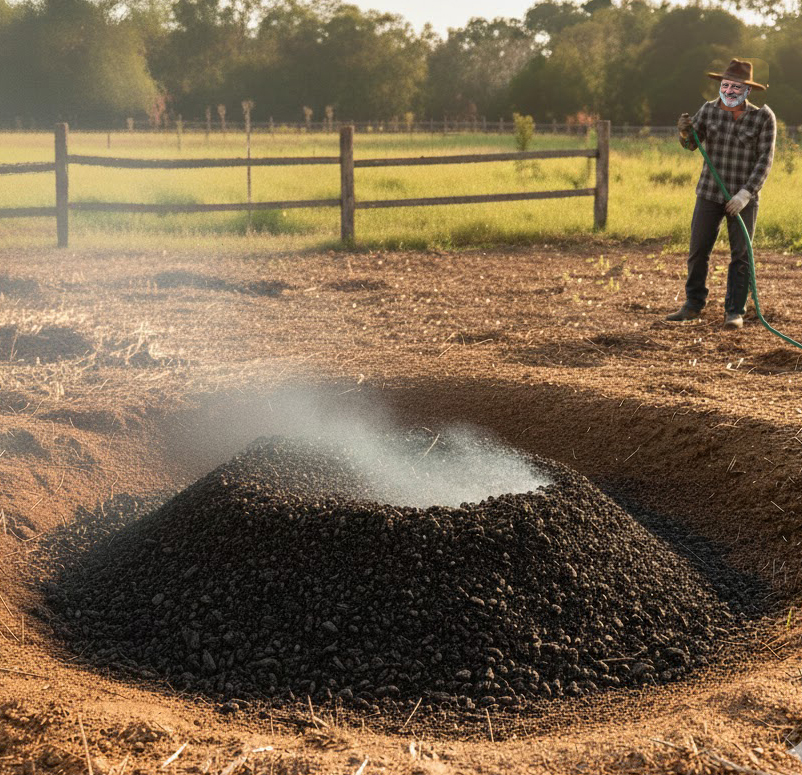
You can make huge amounts of charcoal using this method. It works great if you have lots of somewhat large branches and scrap wood to get rid of. The downside is that you wasted all that energy that you could have used to heat your house all winter!
2) Make biochar in retorts in your woodstove
If you live in a colder climate and heat your house with a woodstove, I feel this is a far better way to make your charcoal. You’re not only making high-quality biochar, but you’re also heating your house for free!
Pyrolyzing in a retort allows for a much greater array of materials, utilizing much smaller feedstock like woodchips, acorns, or even paper, that would immediately turn to ash if you tried to make it outside in a pit!
You can also safely make biochar from spoiled meat, small dead animals, and animal and human manure, as the high heat of approx. 1500°F (816°C) will kill off all pathogens. Most are killed off at about 165°F (74°C).
Here’s a partial list of materials we make biochar from:
Acorns
Anything once alive (plant or animal)
Bones
Cardboard & Egg Cartons
(no glossy)
Clothing, 100% cotton or wool
Corn Cobs
Eggshells
Feathers
Food Waste
Fruit Pits
Grass Clippings
Hair
Horse Hoof Trimmings
Leaves (and leaf bags)
Manure (animal or human)
Meat and Fat (spoiled)
Nut Shells
Paper, Brown and White
(no glossy)
Paper Towel & Toilet Paper Rolls
Pinecones
Plant Stalks, Stems, & Leaves
Saw Dust
Scrap Lumber
(no painted or pressure-treated)
Seashells
Seaweed
Seedy Weeds
Small Dead Animals
Stale Bread
Straw or Hay
Weeds
Wood Chips
Wood Shavings
Biochar FAQ
Quick answers to the questions gardeners ask most.
Do I need to charge biochar?
Yes— Charging fills pores with nutrients and biology so the biochar feeds your biology instead of temporarily tying up available nutrients.
Can I add biochar directly to beds?
You can, but it’s best mixed with compost or another nutrient source first. If you apply it raw, keep the rate low and place it only ON TOP of the soil without mixing.
How much should I use?
Start with small amounts blended into compost or potting mixes. Build gradually over seasons as you learn how your soil responds.
Is biochar the same as charcoal briquettes?
No. Briquettes often contain binders and additives. Use clean, additive-free biochar intended for soil use.
Does biochar replace compost?
No—compost brings nutrients and living biology. Biochar is a long-term structure and habitat that works best alongside compost and mulch.
Will biochar change my soil pH?
It can, depending on the feedstock and how it was made. If you’re unsure, test a small area first and keep an eye on pH-sensitive crops.
Keep learning
Building long-term fertility with biochar-best practices
Want step-by-step demos on making, charging, and applying biochar—plus composting and soil microscopy? Follow along with us on YouTube and start improving your soil this season.