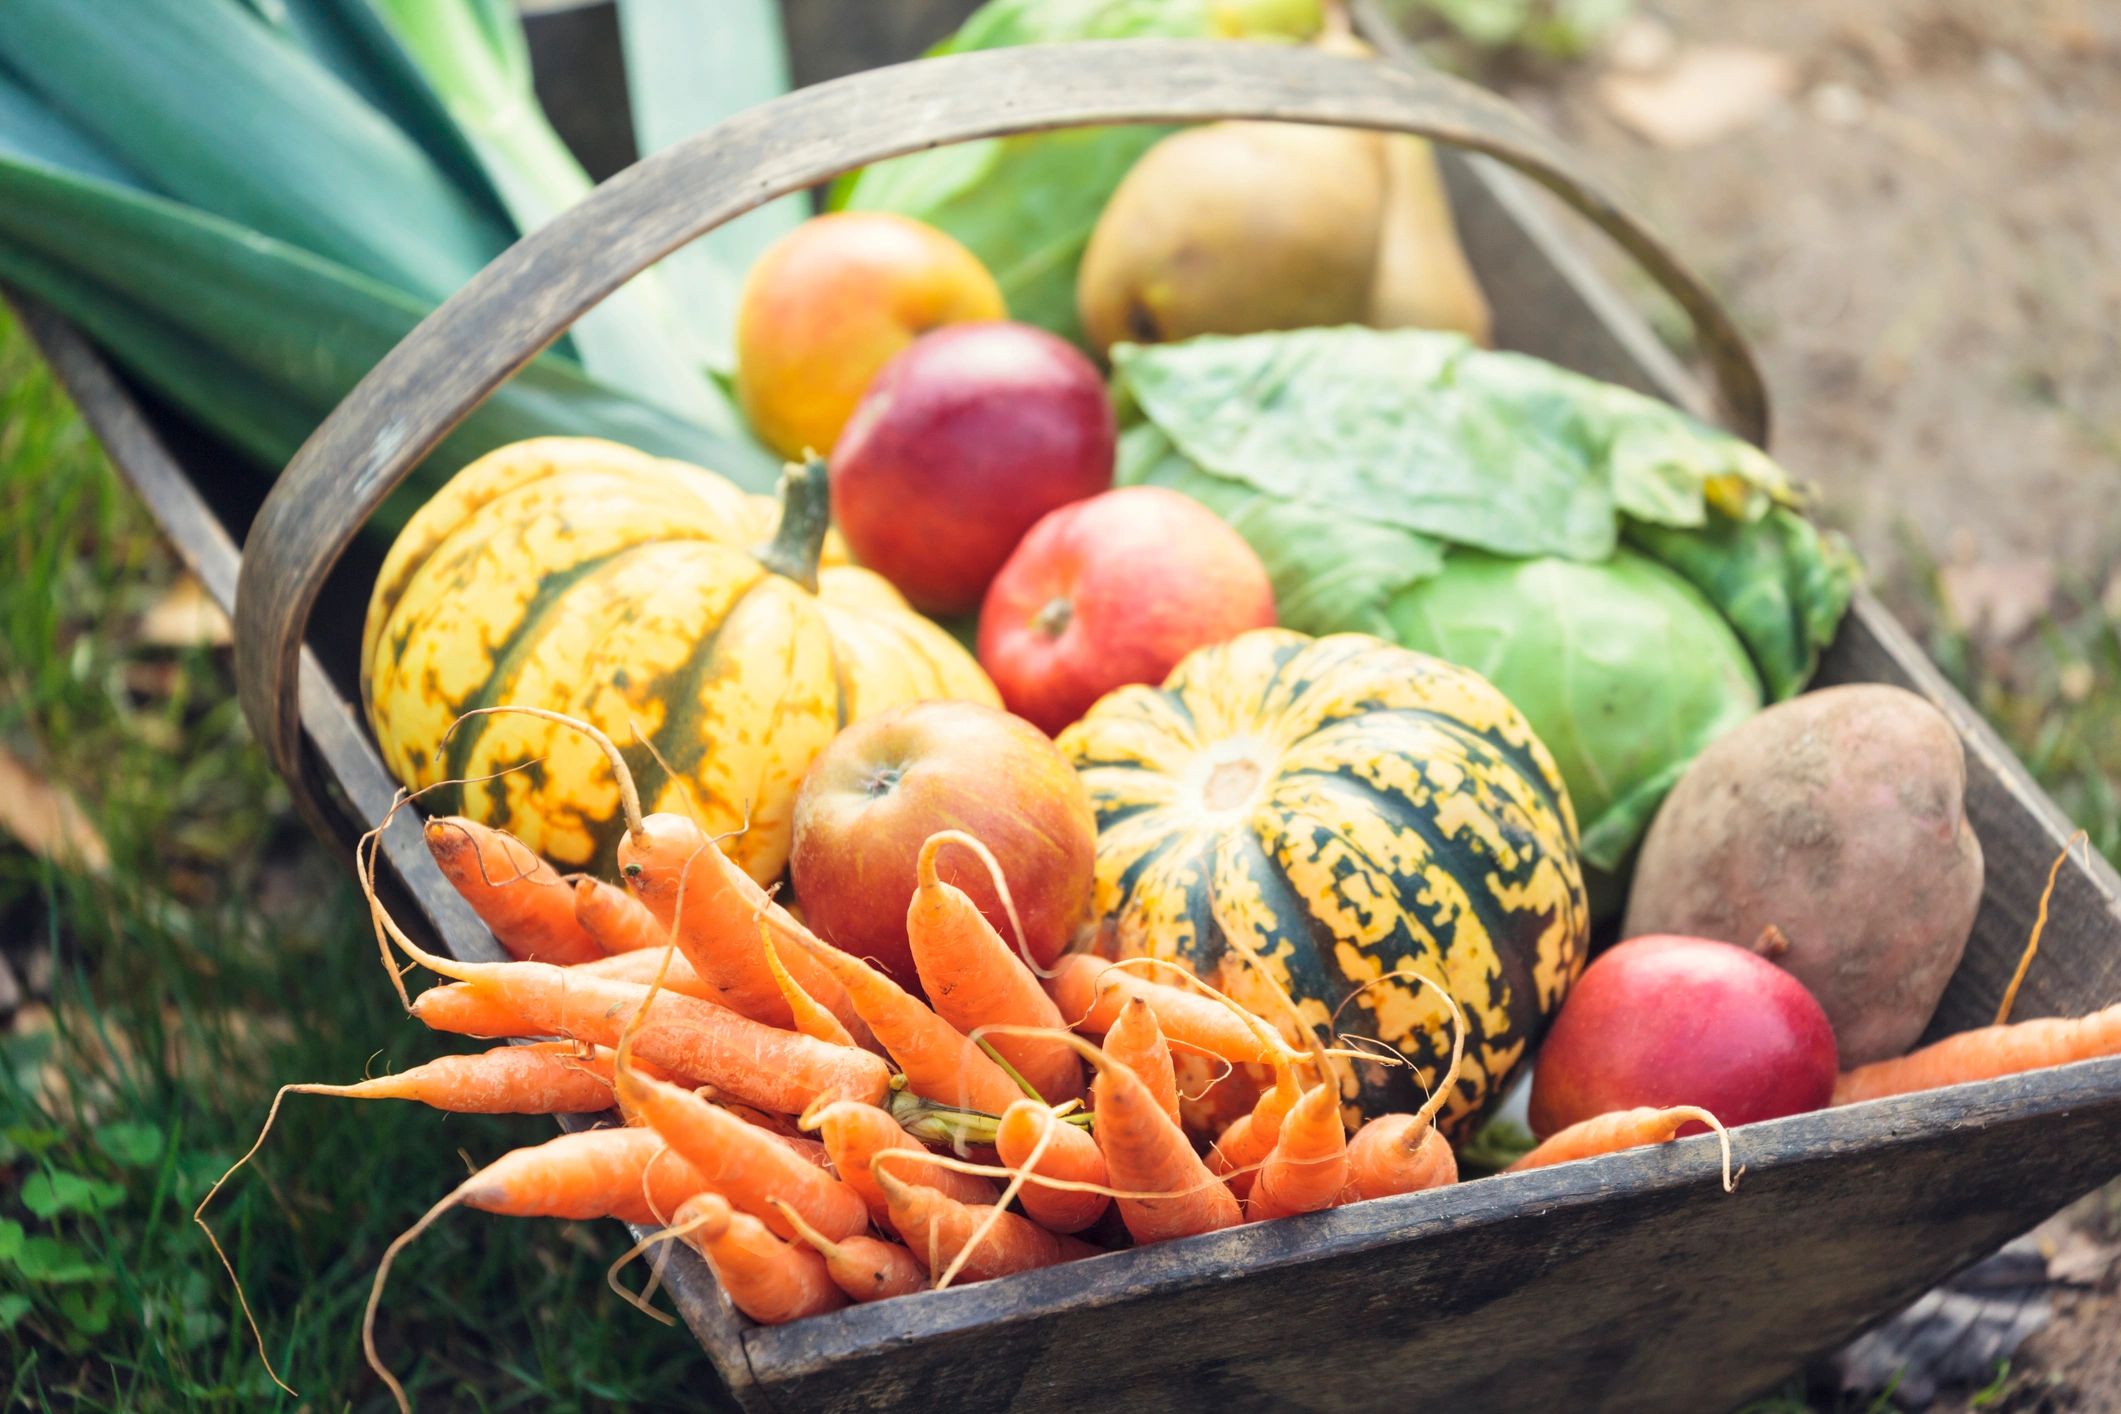
Harvest preservation
Preserve what you grow
so nothing goes to waste!
Simple, reliable methods for preserving your harvest—plus planning tips so you can eat well all year!
Choose your method
Preserving your Harvest 7 Ways

You love gardening. You dream about it all winter and plan every detail. When spring finally arrives, you head to the nursery and buy all your plants. You set them out just at the right time, water them, and protect them from the deer… you grow a fantastic garden… and it all goes to waste when you can’t eat it all!
Imagine living 150 years ago…
You’d spend each and every day, from morning til night, spring to fall, preserving food, cutting wood (by hand), and everything else in preparation for winter!
If you were to survive, you’d HAVE that mindset… with no other way of thinking.
We don’t HAVE to live on what we grow, at least right now, but we SHOULD live with that mindset—
…because RIGHT NOW, we may not NEED to live on what we grow, but we certainly should learn HOW to!
Here’s the truth, if we have a hard time living on what we grow in a safe time, it will be almost impossible if the power grid goes down for a considerable time, or if there were a food shortage!
When we give ourselves that mindset NOW, in a safe time, we can still fall back on the supermarket, while we’re learning and perfecting our skills!
We use all these methods. Start with whatever suits your crop, time, and storage space. Start small, but eventually advance to putting up one batch every day— building a pantry you can trust!
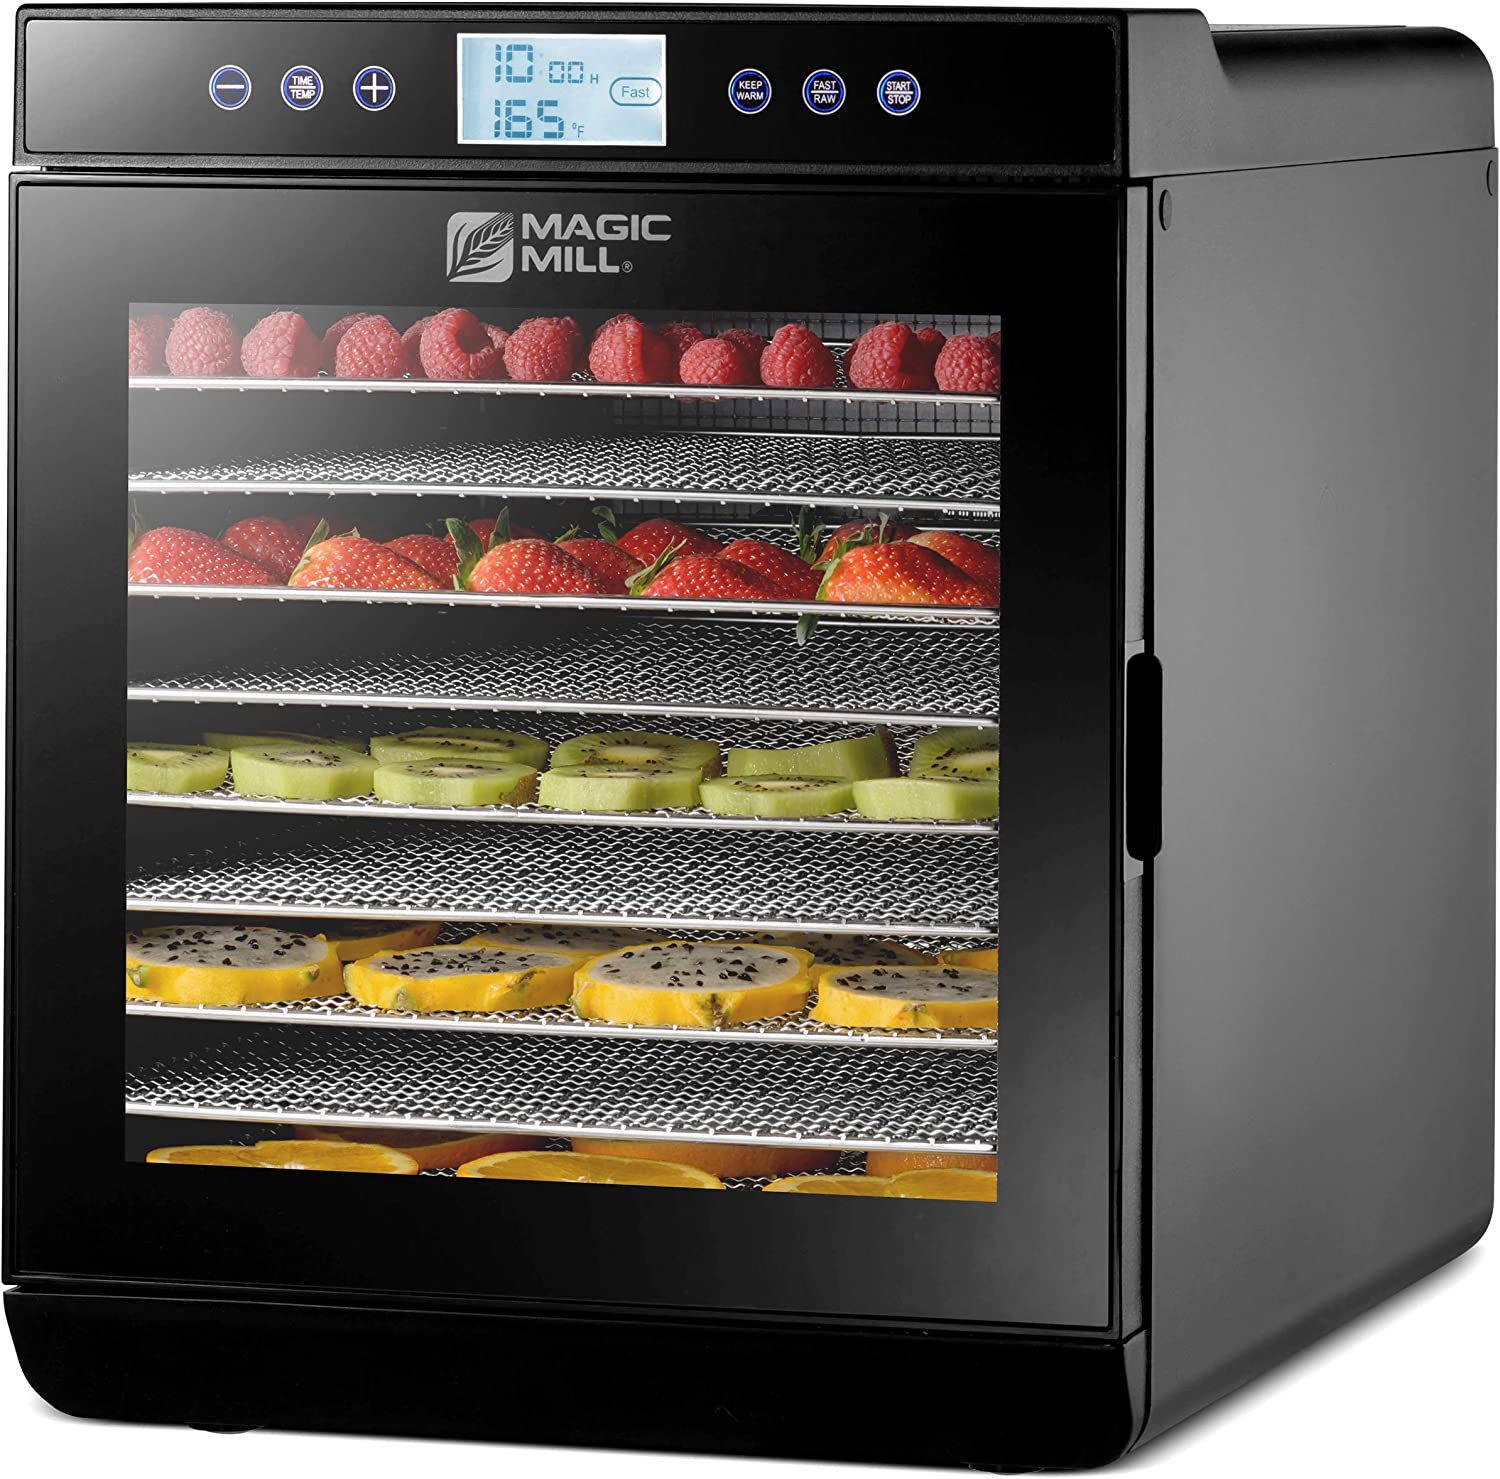
Dehydrating jump to section
Best for herbs, weeds???, peppers, tomatoes, apples, and mushrooms.
Freeze Drying jump to section
Best for herbs, weeds, peppers, tomatoes, apples, and mushrooms.
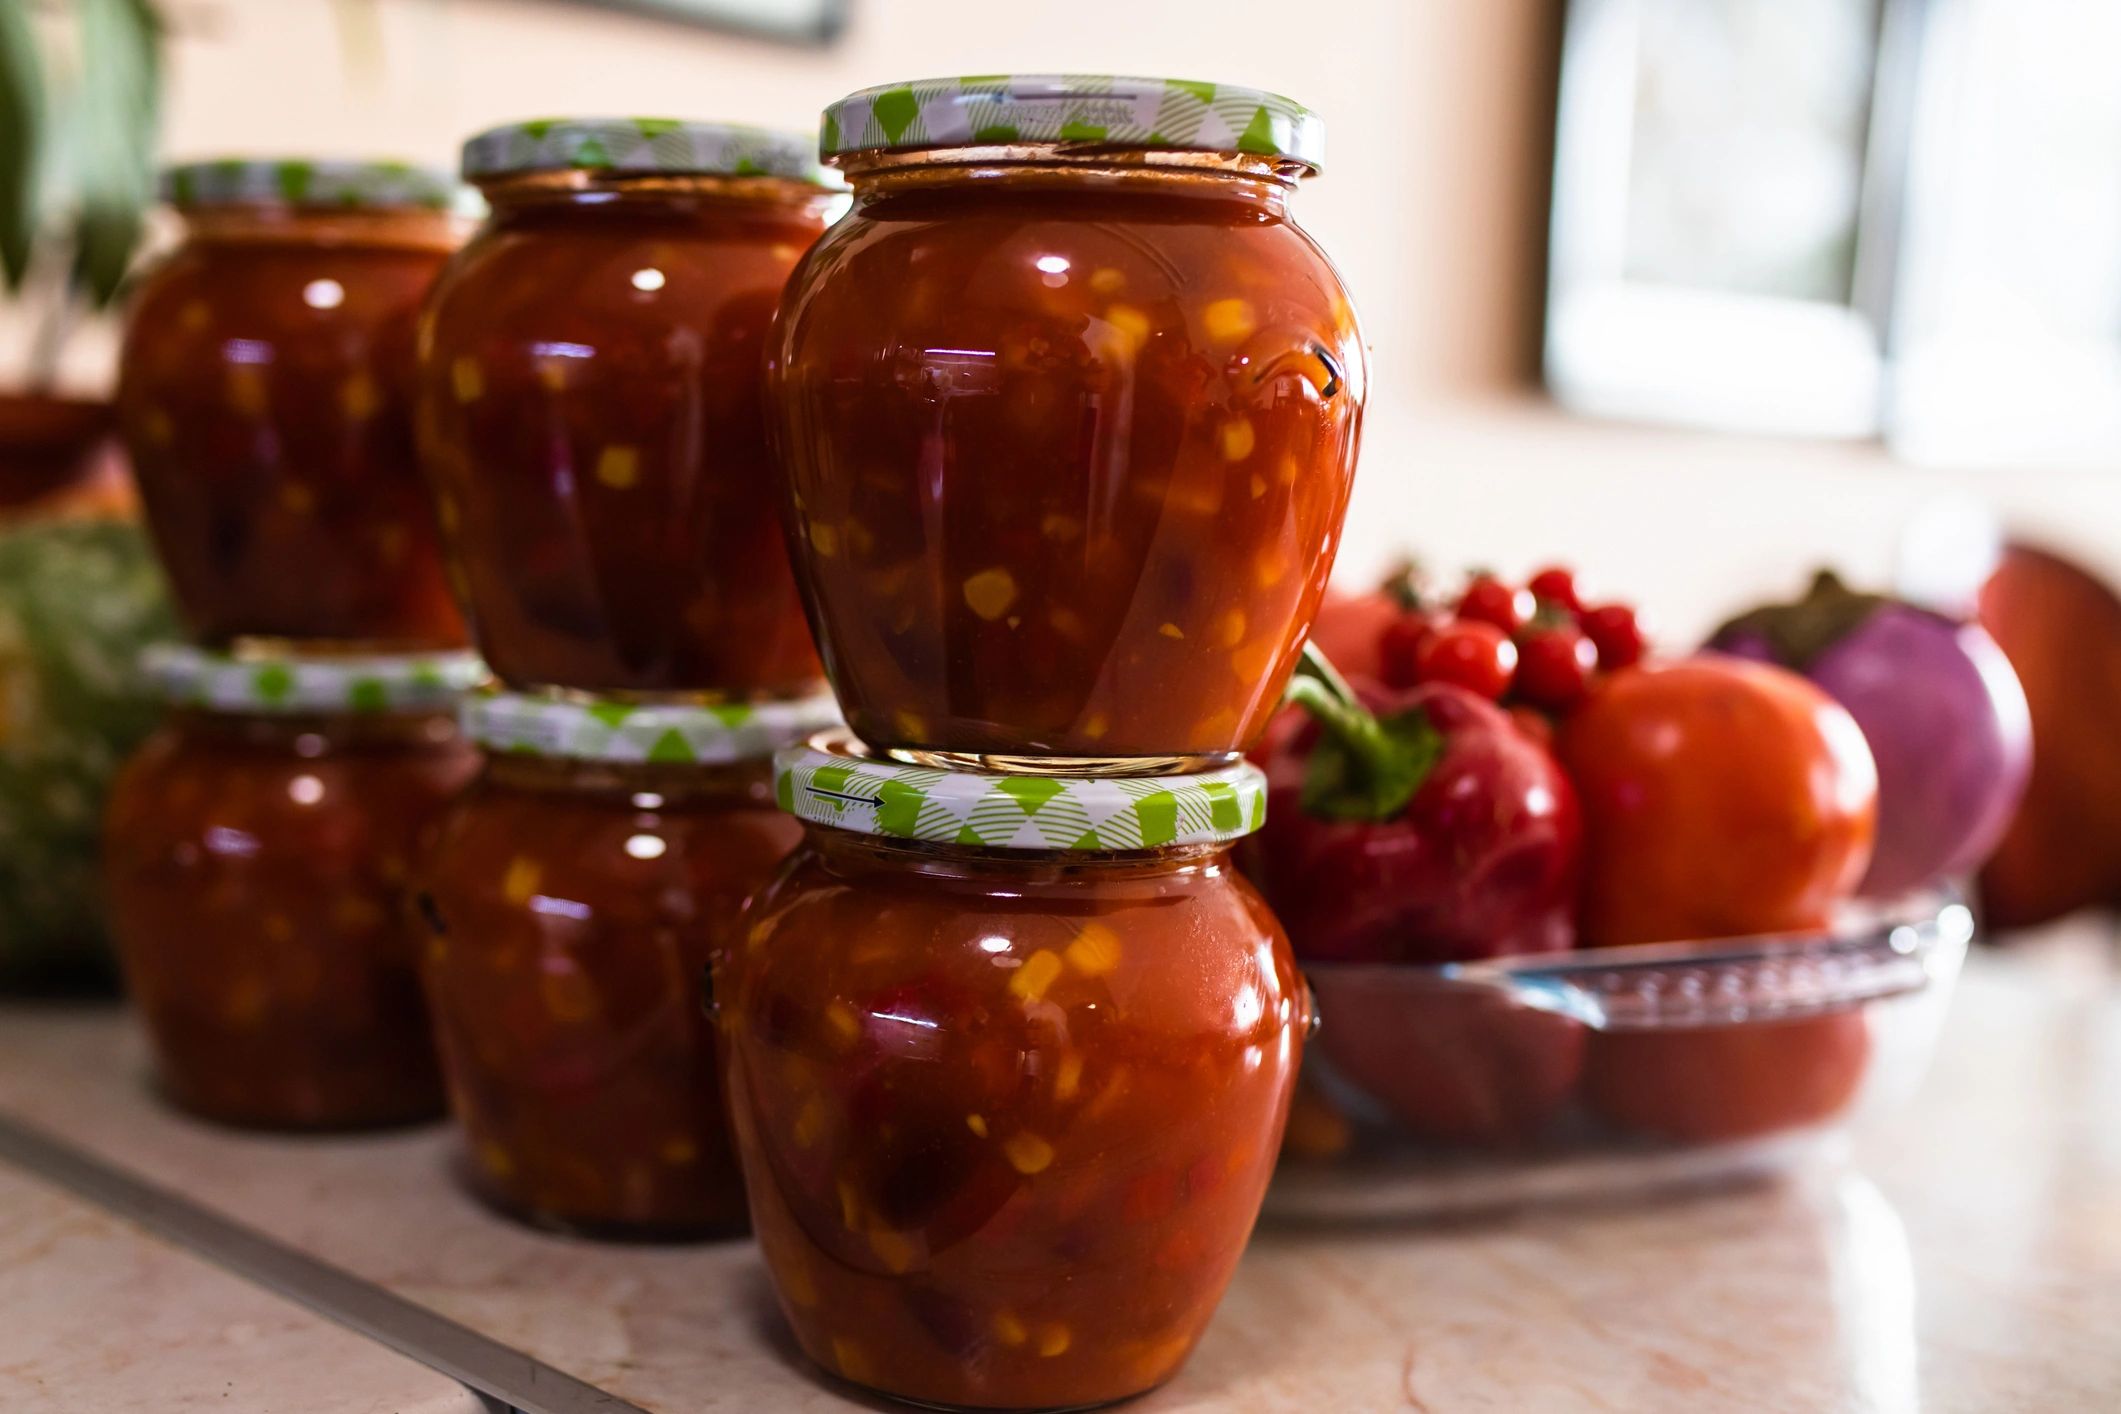
Waterbath & Pressure Canning
jump to section
Great for sauces, pickles, jams, beans, and soups. Use the right canner for the food type.
Freezing jump to section
Fast and flexible for greens, berries, and many vegetables.
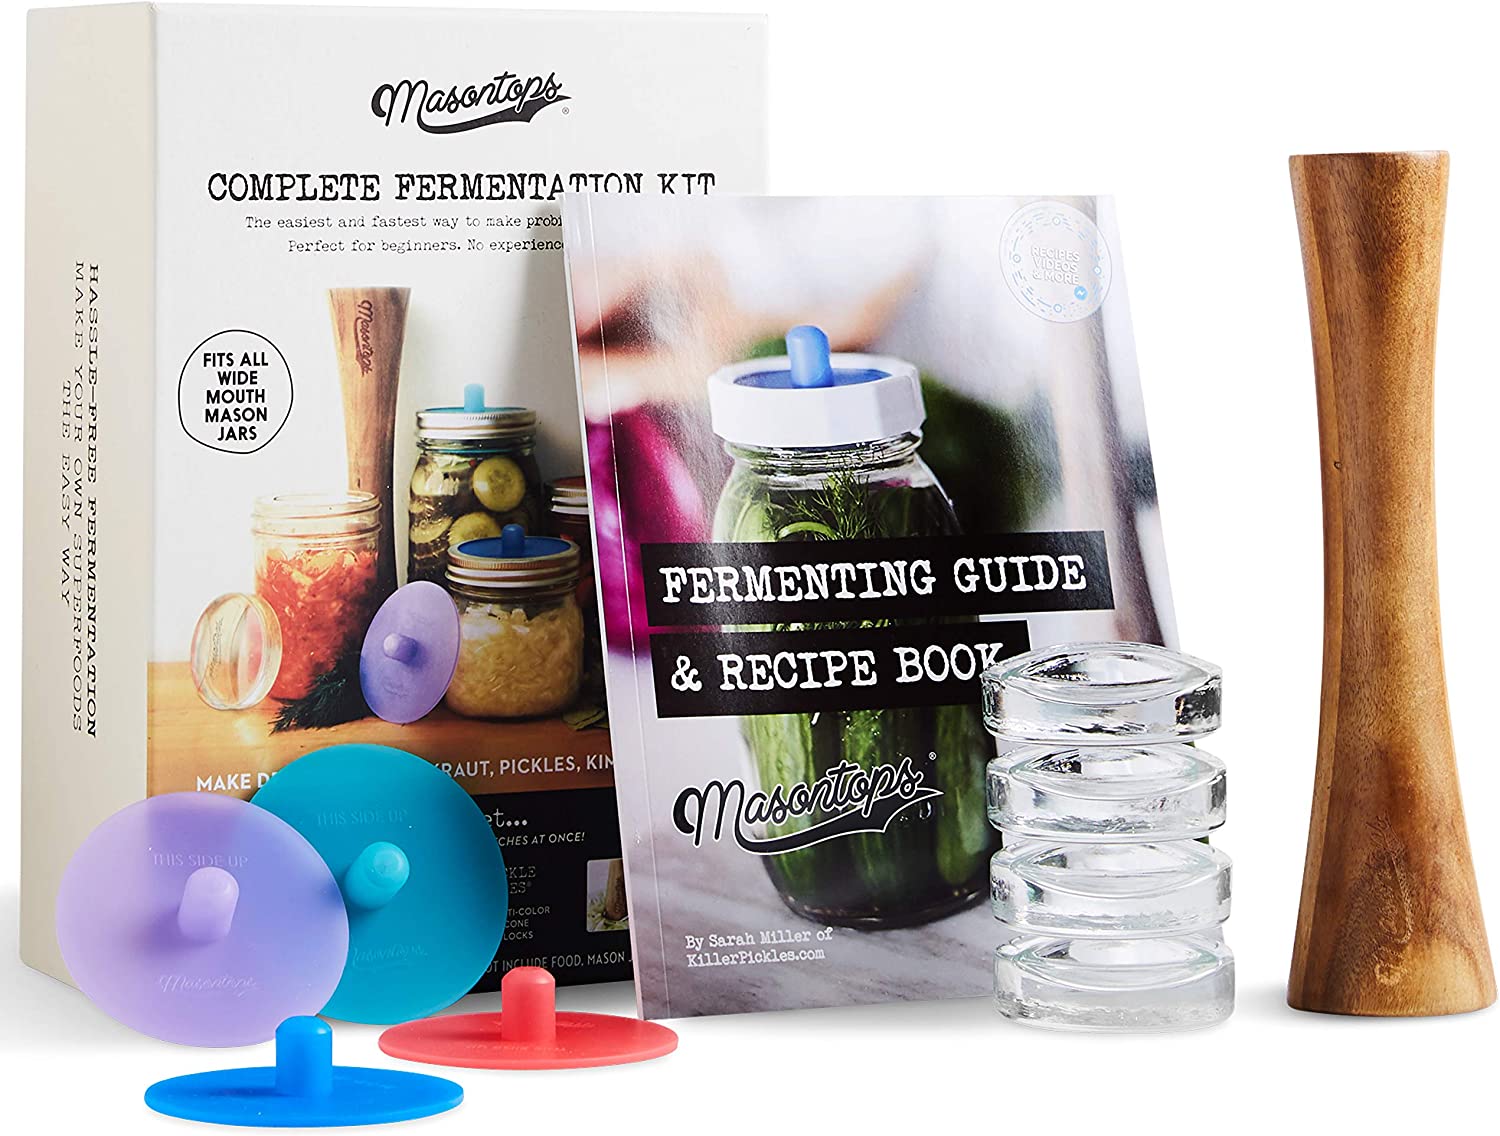
Fermenting jump to section
For kraut, kimchi, and pickles. Salt and and vegetables in jars turn it into probiotic staples.
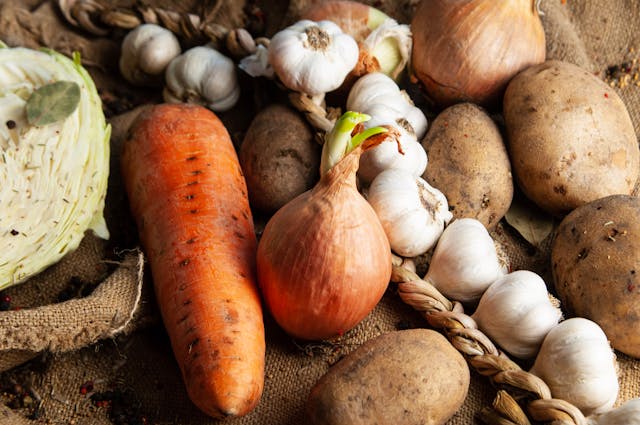
Cold Storage jump to section
For cabbages, apples, potatoes, etc.
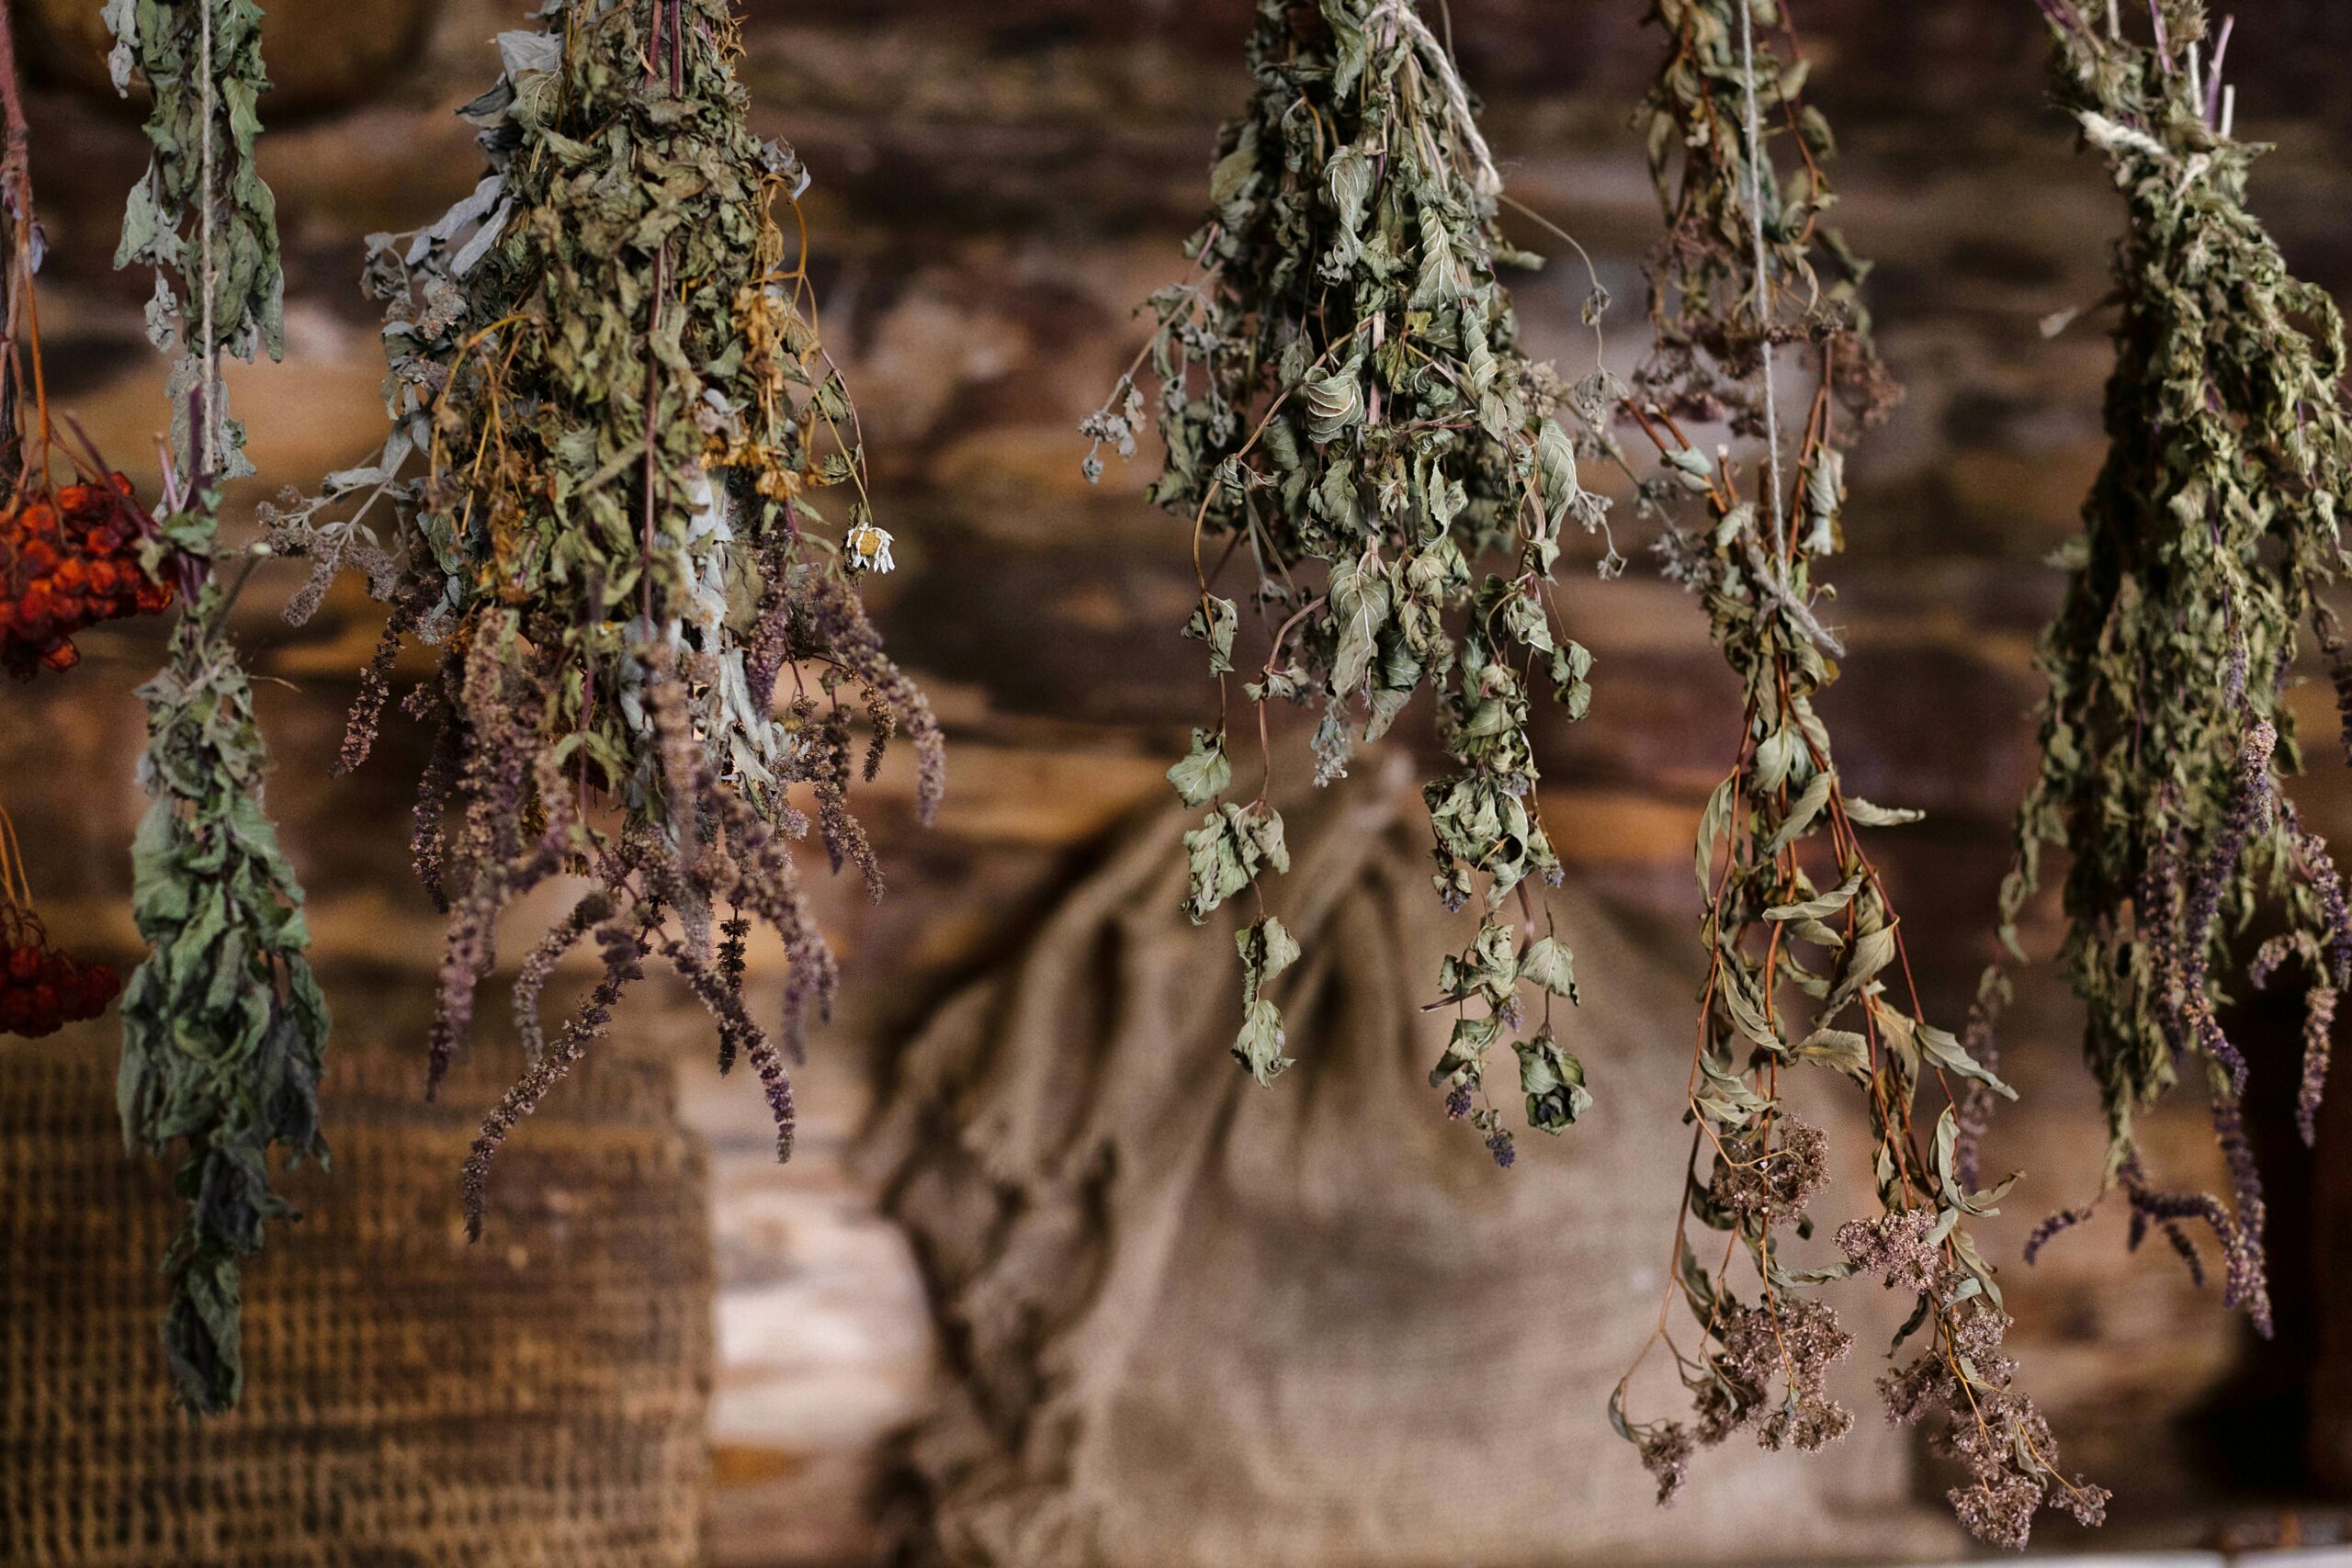
Hanging in the kitchen jump to section
A low-tech option for herbs.
A simple preservation plan that works
Use this guide to keep quality high and stress low—whether preserving a handful of herbs or a full garden haul!
We’re not going to explore the how-tos of the many food preservation methods, as there are many great YouTube channels dedicated to that. I’ve included some of our favorites at the bottom of the page. This section describes some of the reasons you would choose one method over another.
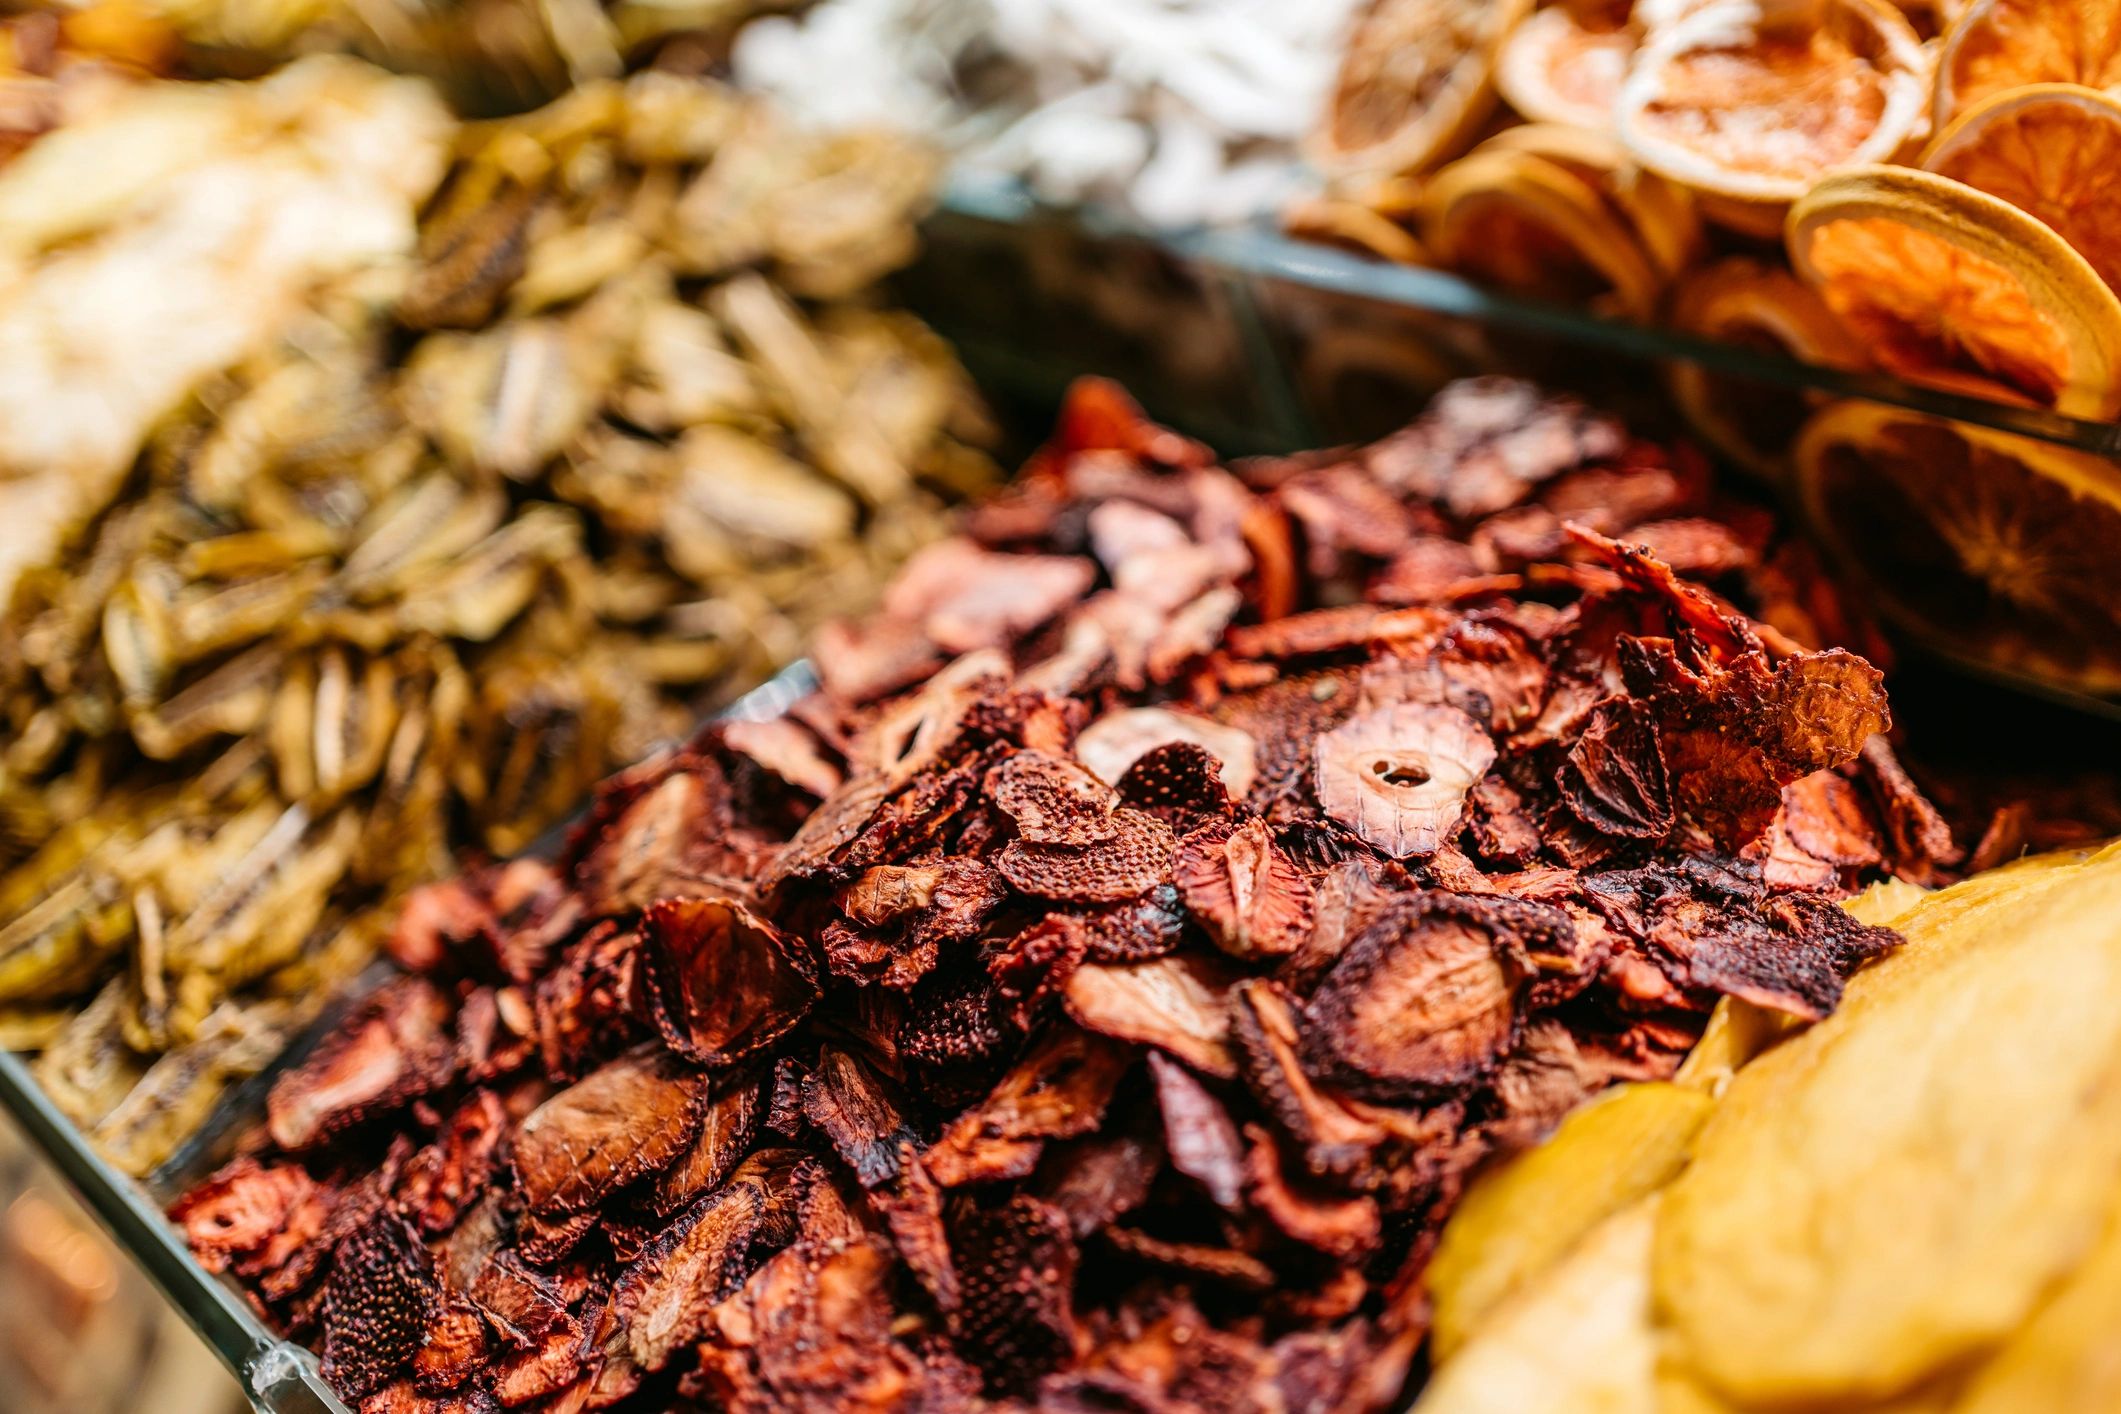
Dehydrating
This is one of our favorite methods! Our dehydrator just about runs continually every day from spring through fall!
Nutrient loss is an important consideration in food preservation. While canning generally destroys 60-80% of the nutrients, the nutrient loss through dehydration is only about 3-7%. This is one of the reasons we like dehydrating so much.
Fruits and vegetables are easily preserved this way and an excellent way to preserve your harvest at its peak. Once dried, fruits and vegetables become lightweight, shelf‑stable, and versatile—perfect for snacks, soups, and quick meals year‑round without taking up valuable freezer space.
After dehydrating, you can powder the onion, garlic, and tomato (etc.) to use as flavorings, and you can then rehydrate the powders into sauces (tomato sauce, for example) if you desire.
We grow a lot of different herbs for seasonings, teas, and medicinal use. Dehydrating is our favorite way to preserve their essential oils and nutrients. It’s a simple and time‑tested way to preserve them for use long after the growing season has ended.
We pick edible weeds like plantain, dandelion, and stinging nettle in early spring. We dry these to use in our soups and smoothies during the winter!
To live on what you grow on a small plot of land, you’ll need to learn to harvest WHAT you can… and WHEN you can!
Advantages:
- You’re not using up your freezer space
- The majority of your harvest’s nutrients are preserved
- Your food tastes so delicious, rehydrated or as is
Drawbacks:
- None that I can think of
Another use for our dehydrator is for making yogurt. Its temperature control allows us to make multiple batches every week.
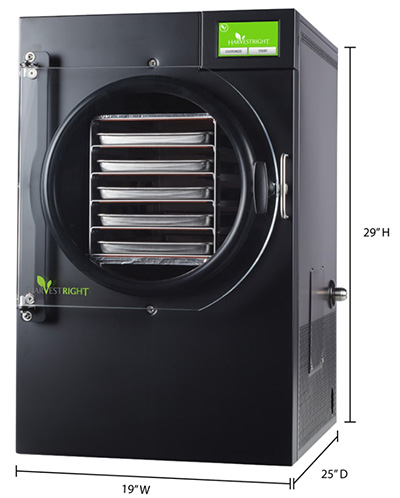
Freeze-drying
French scientist Arsène d’Arsonval first discovered freeze-drying in 1906. He found that freezing blood serum under reduced pressure caused the water component to evaporate, leaving a dried powder.
Later, this technique was discovered by the food industry. The first widely commercial freeze-dried product was instant coffee, developed by Nestlé in the 1930s.
Today, freeze drying is used by everyday people for storing all kinds of food, from garden produce to soups and stews; even eggs, meat, milk, ice cream, and yogurt can be freeze dried.
Like dehydrating, freeze drying retains nearly 95-97% of its original nutrients, including vitamins, minerals, and antioxidants. The big advantage of freeze drying is that its shelf life extends for up to 25+ years! No other preservation method can do that!
Once the freeze-drying process is completed, store your produce in air tight glass containers, or Mylar bags with oxygen absorbers, for the longest shelf life. Freeze dried foods are stable at room temperature, but it’s still best to keep them in a cool, dark place.
Once rehydrated, a strawberry or a slice of pepper wakes up with the same vibrant color and taste it had the day you picked it.
If you eat your fruits and vegetable without rehydrating, it’s like eating candy! If you rehydrate them, you get all the food’s original flavor!
The BIG PLUS for freeze drying— your preserved food can last for decades.
Advantages:
- You food can last for 25 years or more
- Almost ALL the nutrition in your food is preserved
- Your food tastes so delicious, rehydrated, or as is
Drawbacks:
- The machine is expensive
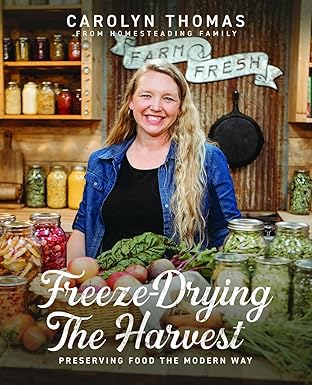
For further reading on Freeze Drying, we recommend “Freeze-Drying the Harvest: Preserving Food the Modern Way” by Carolyn Thomas
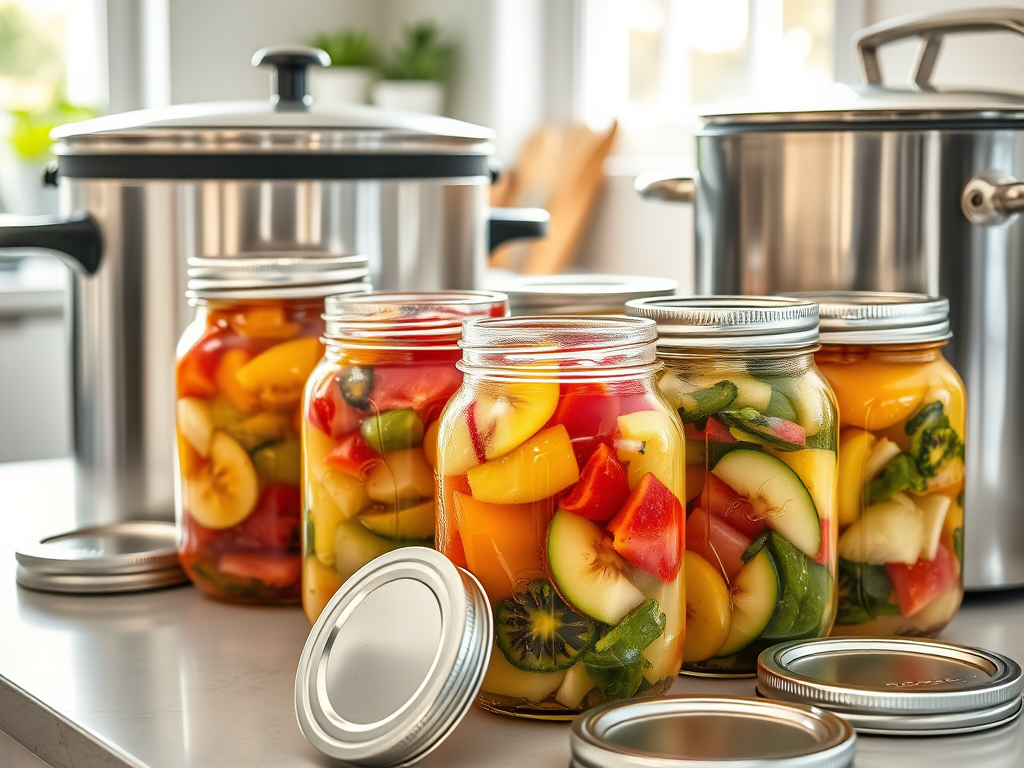
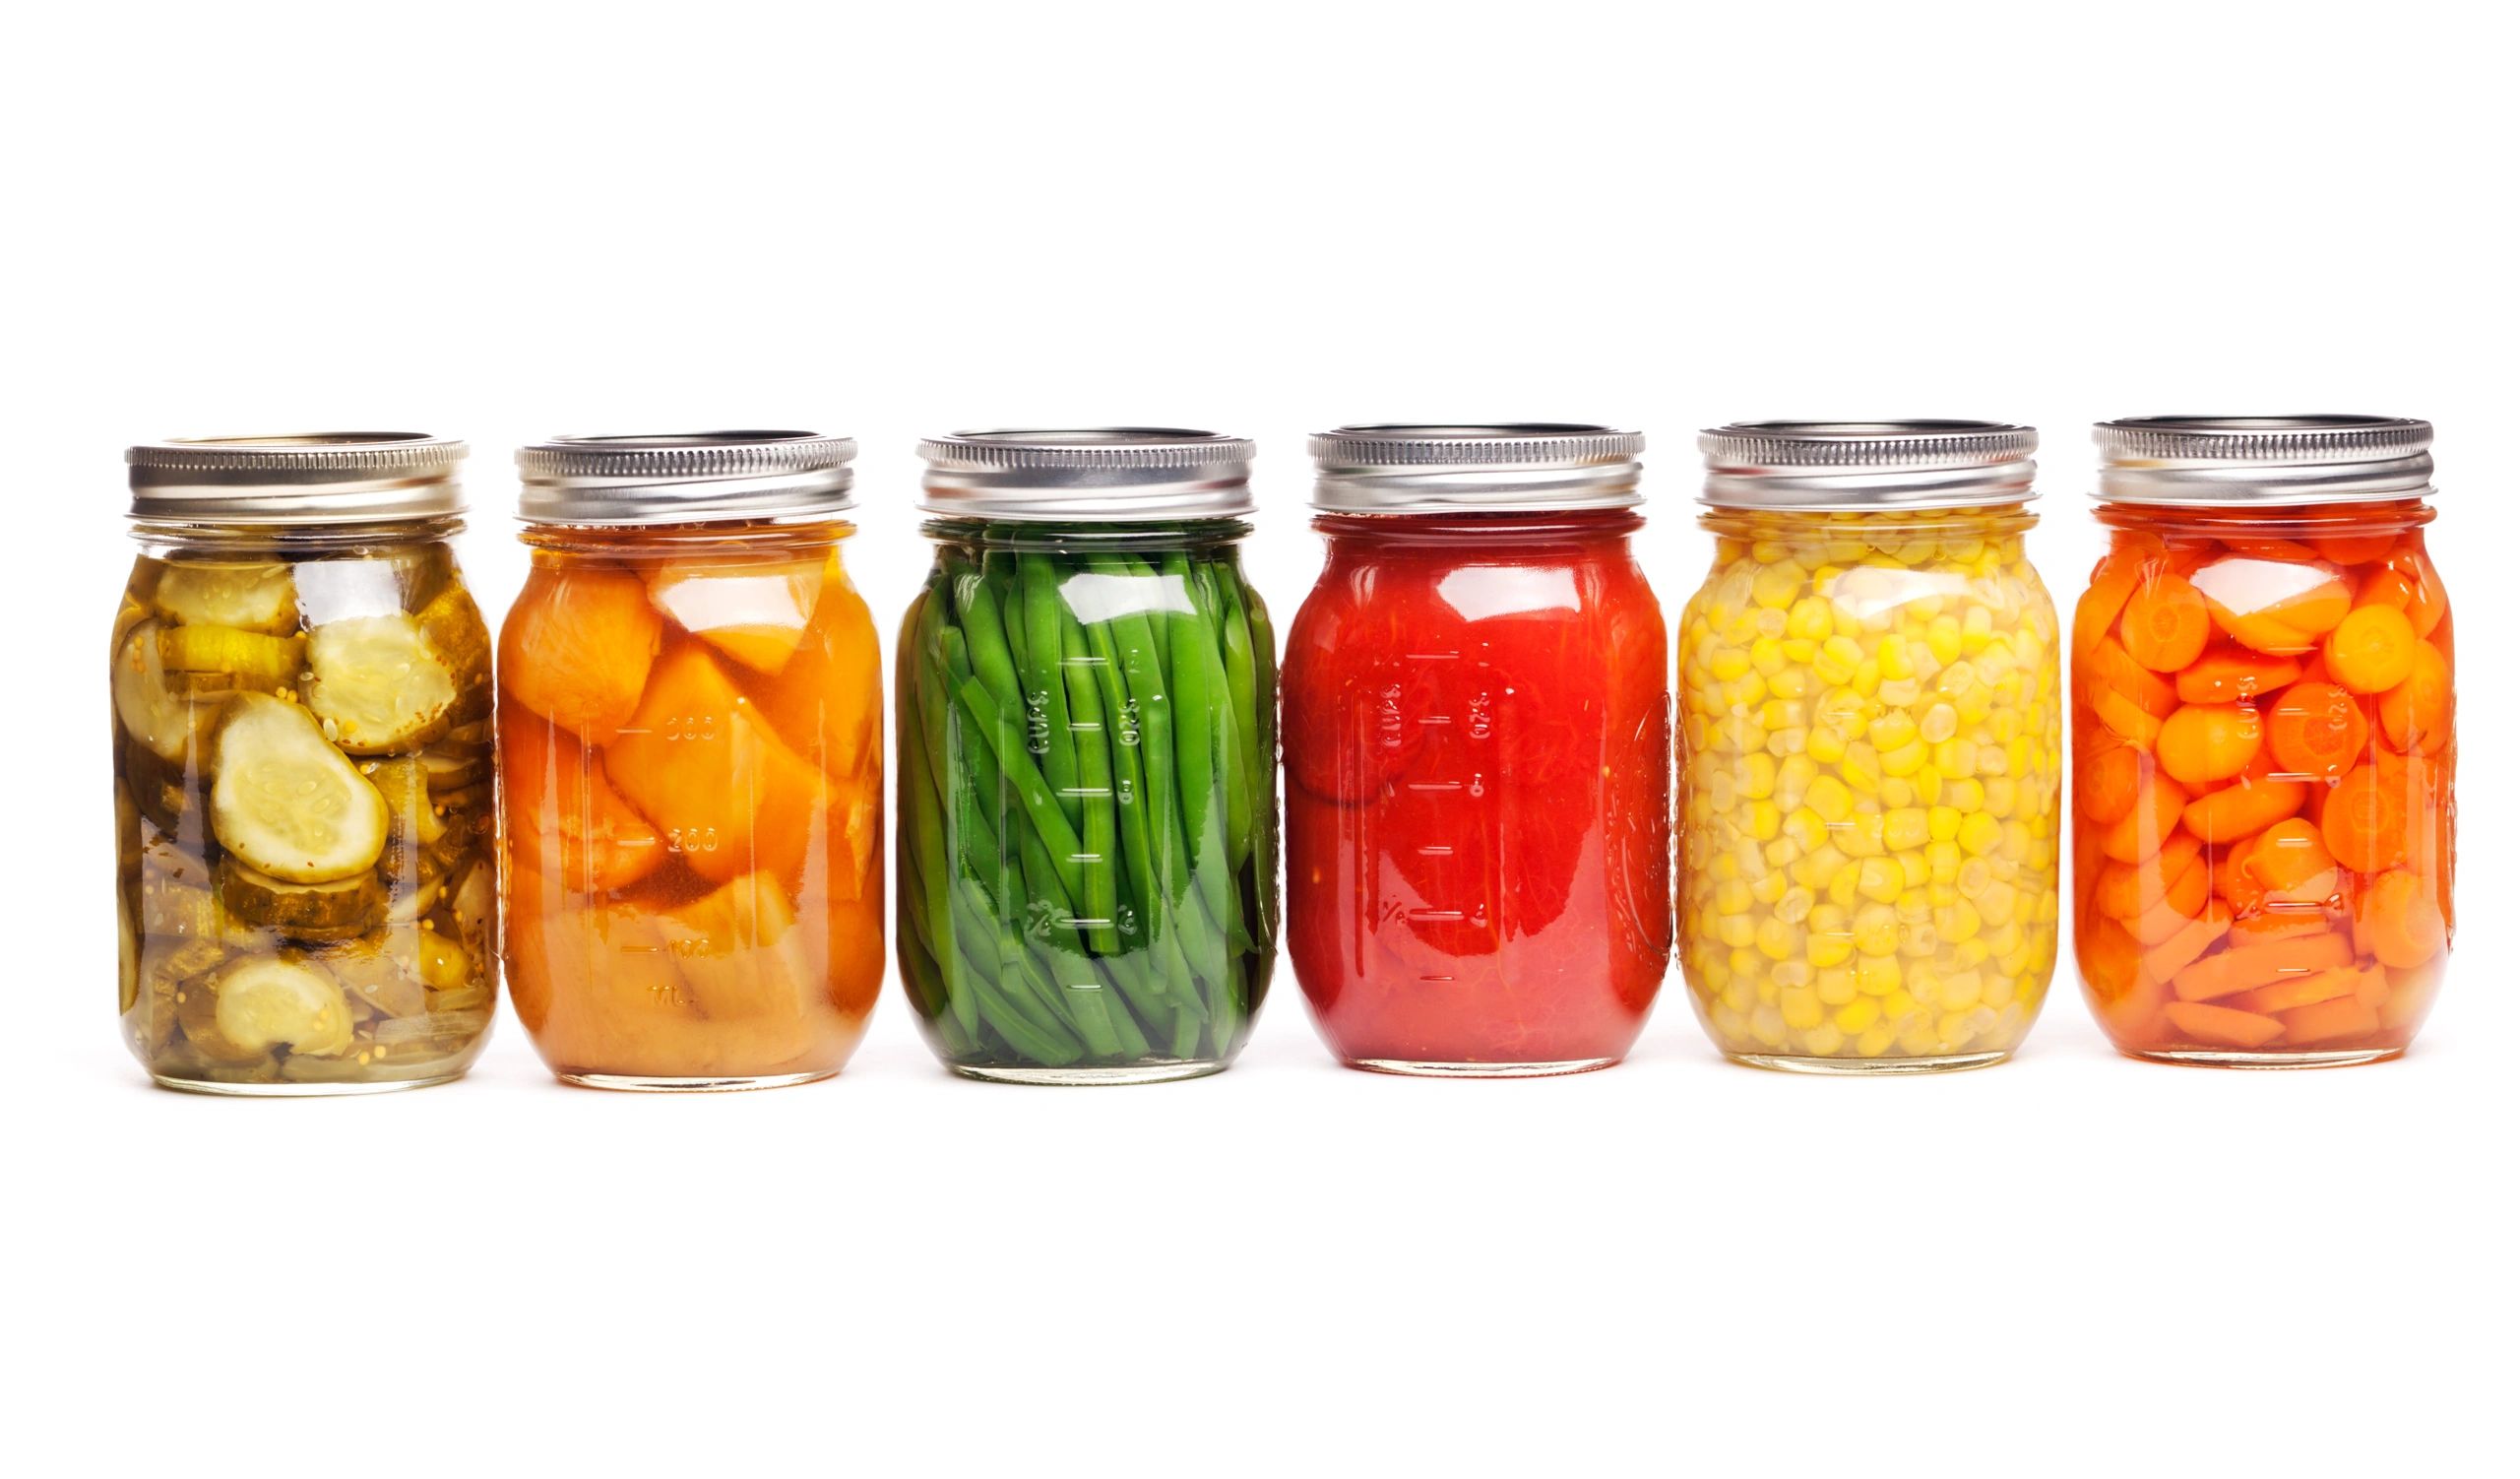
Waterbath & Pressure Canning
Waterbath and pressure canning are traditionally the heavy hitters of canning, but we personally have been moving away from it for the most part. It still is an important skill to learn… and we will always use it for some of our crops— tomatoes mostly.
Canning uses heat to create a vacuum seal that keeps food safe by killing any bacteria.
The difference between waterbath and pressure canning is the temperature the jars reach inside the canners.
In a waterbath canner the hottest the water can become is 212°F (100°C), then it turns to steam. Most food bacteria is NOT killed at that temperature.
In a pressure canner, the temperature can get much higher, killing all bacteria. All foods other than tomatoes (which have high acid content), must be canned in a pressure canner!
Advantages:
- Mostly, it’s because of the convenience when making meals!
- You can do soups and stews
- You can even can water
- It’s fun to do.
Drawbacks:
- It’s A LOT OF WORK
- The jars take up a lot of room on your shelves
- You need to buy jars and rings specially made for canning
It is critically important to follow the instructions EXACTLY in the Ball Canning Guide! Don’t deviate from it in ANY way, and you’ll be safe and won’t have any problems!
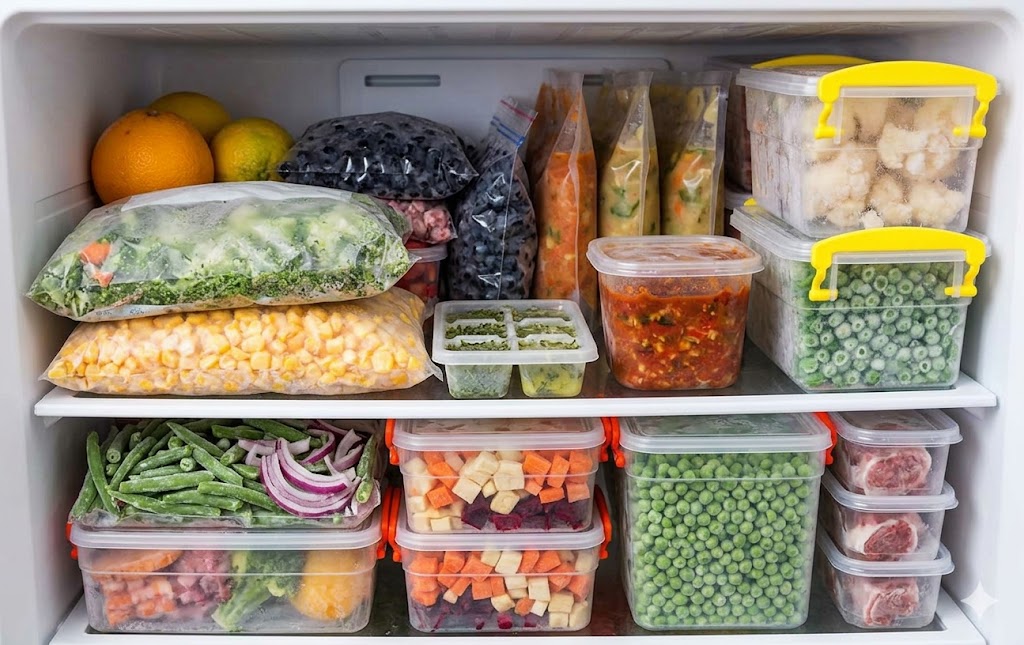
Freezing
Freezing is a method to lock in the peak flavor and nutrition of your harvest with almost no change to it’s natural character. Unlike canning, which requires a kitchen full of steam and heat, freezing is fast and flexible, allowing you to save even a single handful of berries or greens without committing to a massive project.
We now harvest ALL our rhubarb instead of letting that great food source go to waste like we previously did. All we do is cut the stems into one inch chunks, put them into plastic bags and place them in the freezer. It is such a powerhouse of nutrients and indispensable for the smoothies we make all year!
Here’s how we freeze (many) fruits and vegetables: flash freeze the rhubarb chunks, (or sliced or diced peppers, quartered tomatoes, sliced peaches, blueberries, etc.) Line a baking sheet with parchment paper to prevent sticking, (optional), and place the produce in a single layer with none of them touching.
Put the entire pan in the freezer overnight. Then remove them from the pan and pack into freezer containers or freezer bags for storage. This prevents them from freezing into a solid chunk, making it easier to take out the amount you need without defrosting the entire container or bag.
In the same way, we make succotash when all the corn is coming in at once, and we can’t eat it all—
We just prepare succotash like we always do, but then we just ladle some into large plastic yogurt containers, putting up 10 or 12 quarts for the winter. Even if you put up just one quart this way, it will be so welcome in the middle of winter!
There’s nothing better (or easier) than to open one of those containers and enjoying the taste of summer when there’s a foot of snow on the ground in January!
Advantages:
- Freezing typically has minimal nutrient loss, (except when blanched), often making frozen food just as nutritious as, or better than some “fresh” produce which loses nutritional value rapidly even when refrigerated.
- Its biggest advantage is that it’s quick and easy
Drawbacks:
- It takes up a lot of valuable space in your freezer
- You have to pay for the electricity the entire time it’s stored
- If the power goes out you can lose your food supply
- Food properly prepared for freezing remains safe to eat for a long time, but it’s quality (taste and texture) degrades over time. Most frozen items should be used within a year.
- Nutrient loss occurs during blanching, which reduces water-soluble vitamins B and C by up to 50%.
For more information and the details of how to freeze individual items, we recommend “Freeze Fresh: The Ultimate Guide to Preserving 55 Fruits and Vegetables for Maximum Flavor and Versatility” by Crystal Schmidt
Fermenting
Fermenting is the only preservation method that doesn’t just keep your food the same—it actually makes it better.
While canning uses heat to kill off bacteria, fermenting uses “good” microbes to transform your cabbages and cucumbers into probiotic powerhouses that are easier on your digestion and punchier in flavor.
Advantages:
- It’s easy to learn and do
- Fermented food is extremely healthy for you
Drawbacks:
- Fermented food has a relatively short shelf life
- One drawback is you may not know anything about it yet!
It’s a way to store your harvest, using nothing but salt to create a tangy, sour crunch that wakes up your palate in the middle of a long, gray winter.
Cold Storage
While canning or drying changes the very nature of a vegetable, tucking your harvest into a chilly, dark corner lets it keep its living crunch and garden-fresh spirit well into the winter.
It’s the gentlest way to preserve, so that a potato or an apple stays exactly as nature intended—firm, juicy, and full of the summer’s sun— without needing a single spark of electricity or a boiling pot to get it there.
Advantages:
- It’s easy
- No source of power needed
- You can leave some food right in the garden where they’re growing for most of the winter, like carrots and Jerusalem artichokes for example. As long as the ground isn’t frozen solid, you can shovel away the snow and just dig them up!
Drawbacks:
- Mice can get into your storage and decimate your supply
- You must keep them cool but not allow them to freeze
Hanging in your Kitchen
No electricity needed! Braid together your garlic and onions, and hang your herbs upside down in your kitchen letting gravity pull all the good oils down into the leaves, while your kitchen’s natural warmth gently whisks the moisture away.
Just shield from the direct sun, and wait until they’re crackly-crisp. It’s a slow, quiet way to bottle up summer, put your herbs within reach when cooking, and make your kitchen smell like a meadow to boot!
Advantages:
- It’s easy
- No source of power needed
- Your herbs are within arm’s reach when you’re cooking
Drawbacks:
- Dust from the air can contaminate it
- Insects can also contaminate it
- You can’t have them near the stove because grease and steam can contaminate them
- You’re not as concerned as much, if dust or insects land on your garlic or onions, as you’ll be peeling them anyway
Do everything with purpose
Every batch you make (including your mistakes) gives you more experience and expertise!
Harvest at peak quality
pick in the cool of the day and handle gently. Get produce out of the sun fast. Don’t try to preserve anything flawed!
Be Safe
Use clean tools, correct temperatures, and tested canning guidance. When in doubt… freeze!
Store & track
Label everything with contents & date. Rotate first-in/first-out and keep notes for next season!
Preservation FAQs
Quick answers to common questions—focused on safety, quality, and building confidence.
Do I need a pressure canner?
For low-acid foods (most vegetables, meats, soups), yes—use a pressure canner. High-acid foods (many fruits, jams, pickles with tested recipes) can often be water-bath canned.
How do I know when food is “dry enough” to store?
It should be dry all the way through—no cool or soft centers. Condition dried foods in a jar for a week (shaking daily) and re-dry if you see moisture.
Should I blanch vegetables before freezing?
Many vegetables keep better with a quick blanch to stop enzymes (e.g., beans, broccoli, greens). Some items (berries, peppers) freeze well without blanching.
What’s the best way to label and rotate?
Write contents & date on every jar/bag. Store similar items together and use first-in/first-out so older batches get used first.
Can I preserve imperfect produce?
Yes—trim damage and use the rest quickly. For canning, use only sound produce; for dehydrating/freezing/freeze drying, slightly blemished produce is often fine after trimming.
How does soil health connect to preservation?
Healthier soil biology supports more nutrient-dense, better-tasting crops. Better inputs make better pantry staples—so preservation starts in the garden.
Keep learning
Want step-by-step demos?
Follow along on YouTube for practical preservation walkthroughs, gear tips, and seasonal harvest checklists.